Saturday 3 December 2011

Me & My Bro


I don't often blog about our children, in fact, they don't even like me to show any layouts that could identify them however..... a couple of weeks ago we popped down to Cardiff with the two youngest children to visit their tallest brother and it brought home to me not only how much we miss spending time with tall son, but also how precious the bond is between siblings, and between these two brothers in particular.


Tall son is 24 and the youngest will reach half his age just before Christmas. As for the height difference........


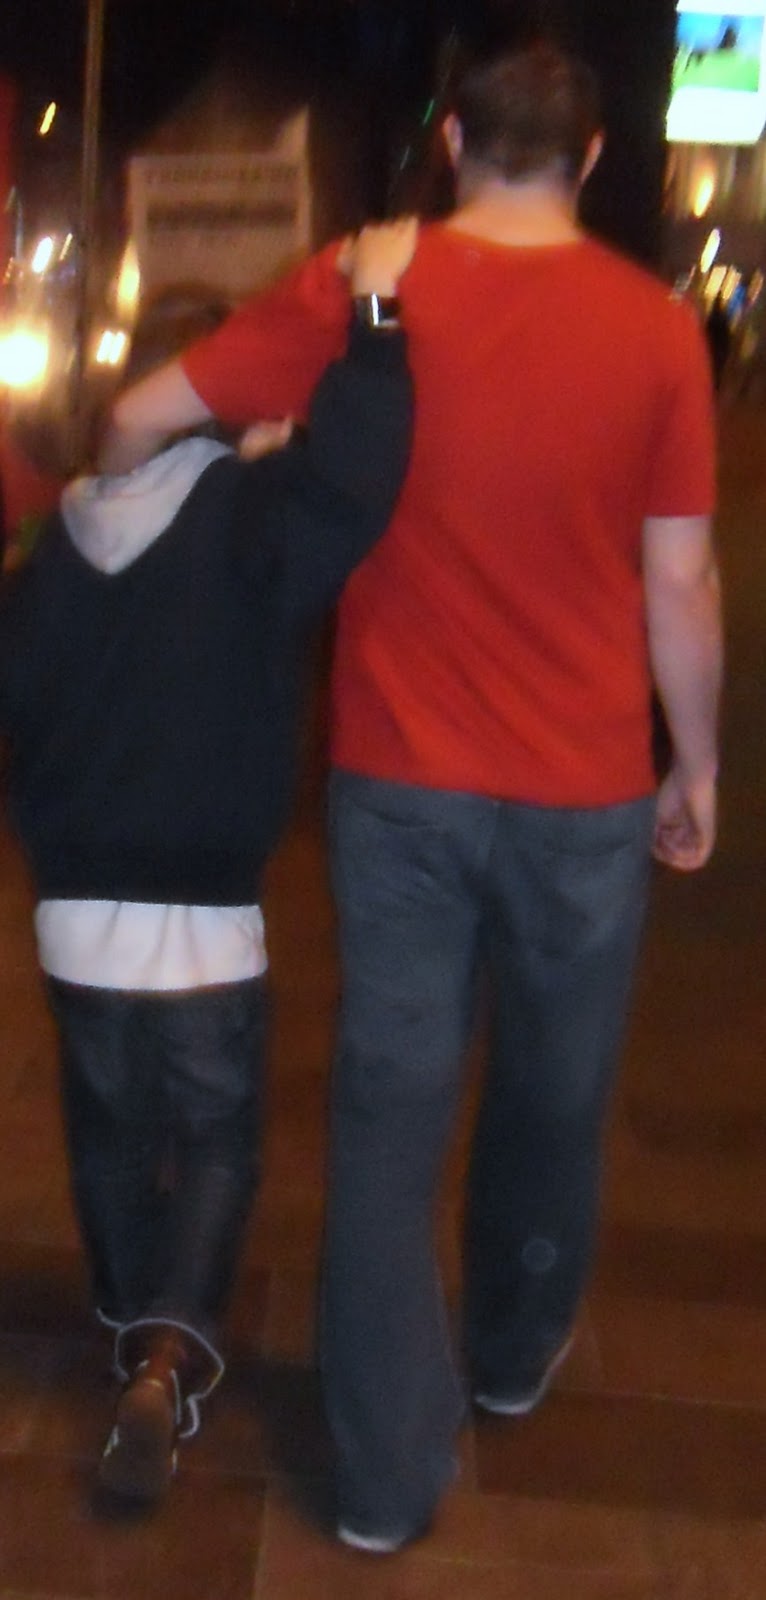
that may take a little longer to close!!


They have very different personalities, but whenever they are together there is always lots of laughter.


When Don was ill tall son was a constant and invaluable support to his father. He quietly stepped into the breach watching his young bro in endless football and cricket practices and matches, helped his now 19 yr old brother find a job that would work around his college course and generally was the glue that helped the rest of us keep going. His positive influence on both his younger brothers (and his sisters) will last a lifetime, leading by example and so generously giving of his time and himself with no fuss, and all without being prompted. If his younger brothers and sisters continue to follow his lead we will have fine young men and women to be proud of........ and siblings with an unbreakable bond.


We had a lovely day out in Cardiff, the Christmas lights were then a work in progress, but still very beautiful, and it is such a lovely city to stroll around. We ended the day with coffee at The Pancake House, a little cafe in the Brewery Quarter which is open until 10pm most evenings. It is run by a lovely young lady who makes the most wonderful Cinnamon ice cream (amongst others), and the pancakes looked pretty wonderful too!


Wednesday 5 October 2011

Apothecary Emporium


Hi there, thanks for stopping by. Apologies in advance for the very rushed photos and post but it's a bit hectic here today with lots of workshop projects to be photographed for the website too - and the Headmaster is not known for his patience when it comes to my aversion to gadgets and technology!!

Anyway, I thought I'd share the results of my Sunday make with Echo Park's Apothecary Emporium. I don't normally 'do' Halloween but I just loved these papers and the new blank houses from Creativ UK - they are a steal at just £2.95! So....


....a quick coat of Eco Green Black Acrylic and a selection of scraps of the 12x12 papers from the Apothecary range to line the compartments. Some 7Gypsies amber bottles and around a third of the stickers from the matching 12x12 cardstock sticker sheet. Some on plastic paper and some on black cardstock so they could be arranged more easily within the piece.


Then the fiddly bit. I made the bead spider from a selection of glass beads from the Cosmic Shimmer range - a really good video showing how to do this can be found here, it takes only 20minutes to make and if I can do it anyone can ;D. I also used black shrink plastic to make some bats, a witch and a skeleton stamped with Hero Arts CG392, Skeleton Dancing. Checkout Astrid's tutorial on black shrink plastic for the Snazzy Design Team Blog for some great tips and tricks for using this very underrated product.


A bit of strange project for a gloriously sunny Sunday afternoon but I quite liked the end result.
Can't stop, still unpacking all the stock for Port Sunlight this Saturday, ready for me to repack it all again tomorrow evening. If you are going to the event do drop by stand 19A and say hello!

More soon (ish)......xx


Friday 23 September 2011

Home to Roost


Hello, this little chap has been roosting in my workshop together with his friends from 7gypsies Conservatory papers awaiting assembly into a class project. Well, I finally taught the workshop last Wednesday and I thought I'd let you have a peek before he and his friends come home with me to roost in a box frame in my study.


The base and rectangles are all just cream mountboard covered with layers of the Conservatory papers and overstamped with Prima background stamps - the chicken wire stamp is a long time favourite, so useful! I added some Vintage Photo ink around all the edges, Ideaology tickets, Grungeboard flourishes, shrink plastic eggs in a frayed twine nest and twigs from the garden outside the store to finish. If I get a chance this weekend I will finish the butterfly version from the same papers which will hang alongside this one.

Thanks for visiting xx


Thursday 15 September 2011

Laced with Grace Canvas


Well, this project started with what was supposed to be a quick play with the Eco Green's lush paints in Birch and Clamshell, some of their Spackle and some text stamps but, once the canvas was painted, textured with some stamping into the Spackle, painted some more and finally lightly swiped with a little Viva Inca Gold (in a sort of greenish gold) over the textured area, I'd lost interest.


Then a few days later I spotted these pretty butterflies on the signature paper from Glitz Design's Laced with Grace so a few were cut out and I tore, distressed and inked another sheet from the range before I remembered said abandoned canvas. I wanted to stitch around the paper and onto the ric rac but couldn't figure how to get my new, especially bought to stitch paper, mini sewing machine to work. So Tina, who teaches a couple of workshops each month for Snazzys came to the rescue and did it for me, then paper was glued to the canvas. 


Next, being a very lazy crafter, I was looking for an easy way to create metal flowers a la the wonderful Lin Brown so stuck metal to grungepaper, die cut with Tim Holtz Tattered Florals, and embossed each flower individually in various embossing folders. I painted the metal with Ranger's Pearl Paint Dabber and lightly dabbed on some of their Alcohol Inks in Butterscotch and Lettuce. I layered the metal flowers with a couple cut from cardstock and with Mini Rosettes made from Scrim with the Tim Holtz die, all inked with Forest Moss Distress Stain. A bit of shaping, few gems added, layers stuck together with good old Glossy Accents and they were done.


Tim Holtz Flourishes from Grungeboard inked with Peeled Paint and Forest Moss Distress Stains, a ticket and hand, stamped on the same background paper, with the matching Laced with Grace stamps in Versafine Smokey Grey and some hand cut letters, layered on darker cardstock, overstamped with the background stamp in the same grey ink and the project was finished - or was it? Confession time. This project has been sat across from my desk since Artstamps Scotland in June. I didn't know if it was finished then and still don't now, but everyone who comes into the workshop asks me how I made the flowers so there you go.

Thanks for visiting and putting up with my rattling xx  


Wednesday 24 August 2011

7Gypsies Lille


When we were putting the first DT packs together in June I was just so envious of the papers we were sending out - hardly surprising given my addiction to 7Gypsies! I asked the Headmaster if I could please have a kit too, maybe less politely than that but you get the gist.
He did say yes, but only if I promised to create a FINISHED (his shouty emphasis as he knows me sooo well!) workshop project with it. So here it is...


Given my obsession with making little books the outcome was hardly surprising.


Made from the spare envelopes the Envelope Fairy keeps depositing in the workshop card drawer,


with tags for photos, journalling etc in each pocket,


all the papers in the Lille range plus both the matching stamps, inked with Tsukeniko Versafine in Crimson Red - which is nothing of the sort but rather a sort of brick colour - but very nice anyway, and some of my favourite Tim Holtz background stamps inked in Vintage Photo.


A bit more Vintage Photo on the edges and the tags applied with my trusty stippling brush as I am next to useless with the Ranger Applicator Tool - too heavy handed I fear!


Just about sums me up really but one of my favourite projects nonethless.
Thanks for visiting.
Val xx

p.s. If you want some fantastic inspiration pop over to Snazzy's Design Team Blog here, where all the team have blogged lots of wonderful projects using this pack over the past month.


Tuesday 23 August 2011

Welcome

Welcome to Inky Exploits. I have created this blog so I can rattle on about my long standing addiction to stamps and everything inky and share some of the projects I have made for no better reason than I wanted to.


This little project was the result of playing with Ranger Distress Stains on Grungeboard and Grungepaper with stamps from the wonderful Wendy Vecchi.


Some of the pieces were inked with Distress Inks, including the backs of all the flowers and butterflies which I always do as I am a bit (!!) obsessed about the finish on pieces.


My younger daughter added the little beaded bodies to the butterflies as I lost patience with the fidly bits, and the words are from Wendy Vecchi too.


I finished it off with some shrink plastic letters inked with
co-ordinating colours of Ranger Alcohol Inks. I rather liked the finished piece and I certainly loved the way the distress Stains covered the Grungeboard and Grungepaper so easily.

p.s. checkout the Snazzys DT blog here next Monday where a little bird tells me Gillian will be sharing some very useful info on Distress Stains 

Hope you liked the project, at least enough to pop back tomorrow to see what I made with the Design Team's first project pack lol! 
Thanks for looking.
Val xx